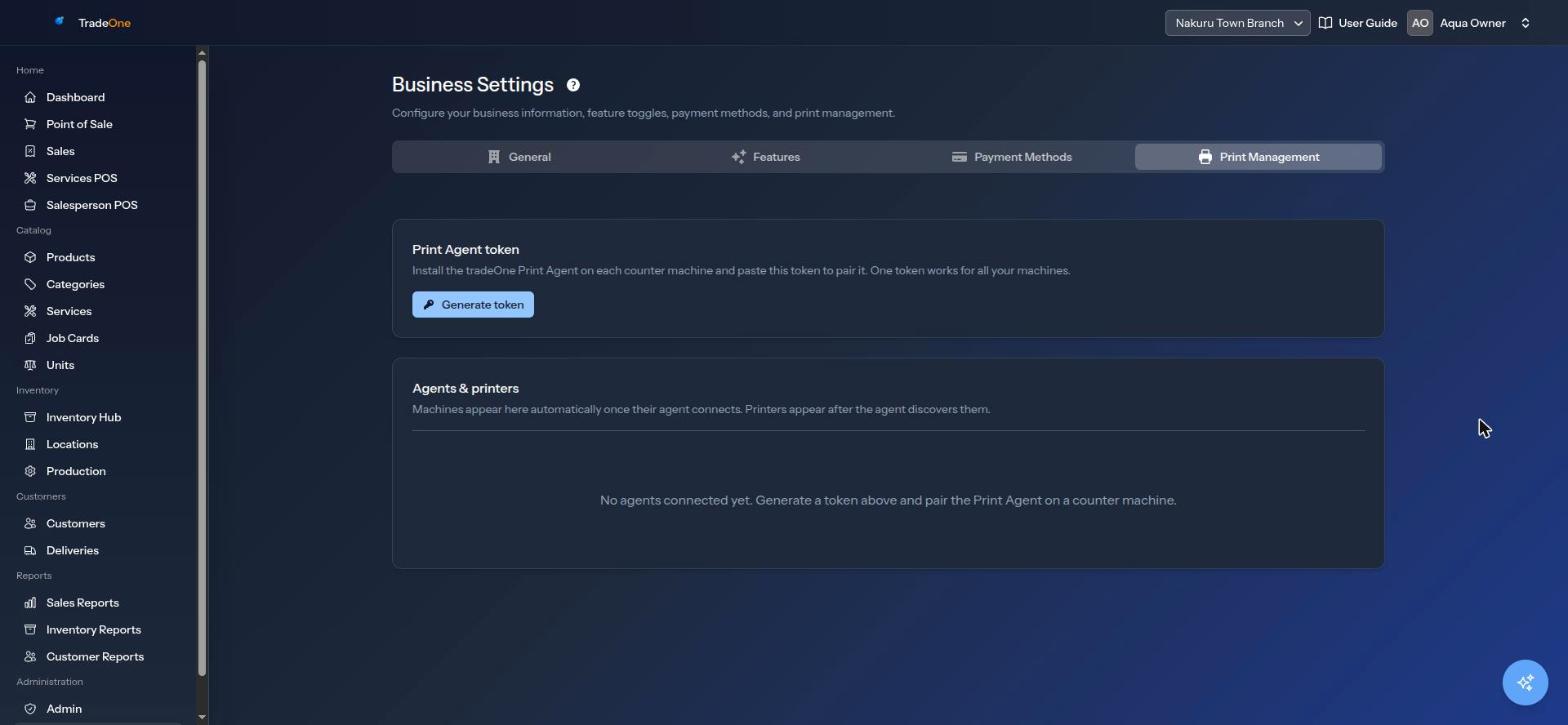
Business Settings
What This Page Does
Administration > Business Settings is the control panel for your business. It has four tabs: General, Features, Payment Methods and Print Management.
Changes here affect everyone in the business, so be careful.
Warning
TradeOne does not check a permission before opening this page. Every signed-in user sees Business Settings in the menu. Keep the staff you trust in mind when you give out logins.
The page remembers the tab you last used. You can also go straight to a tab with the address ending ?tab=features, ?tab=payment-methods or ?tab=print-management.
General
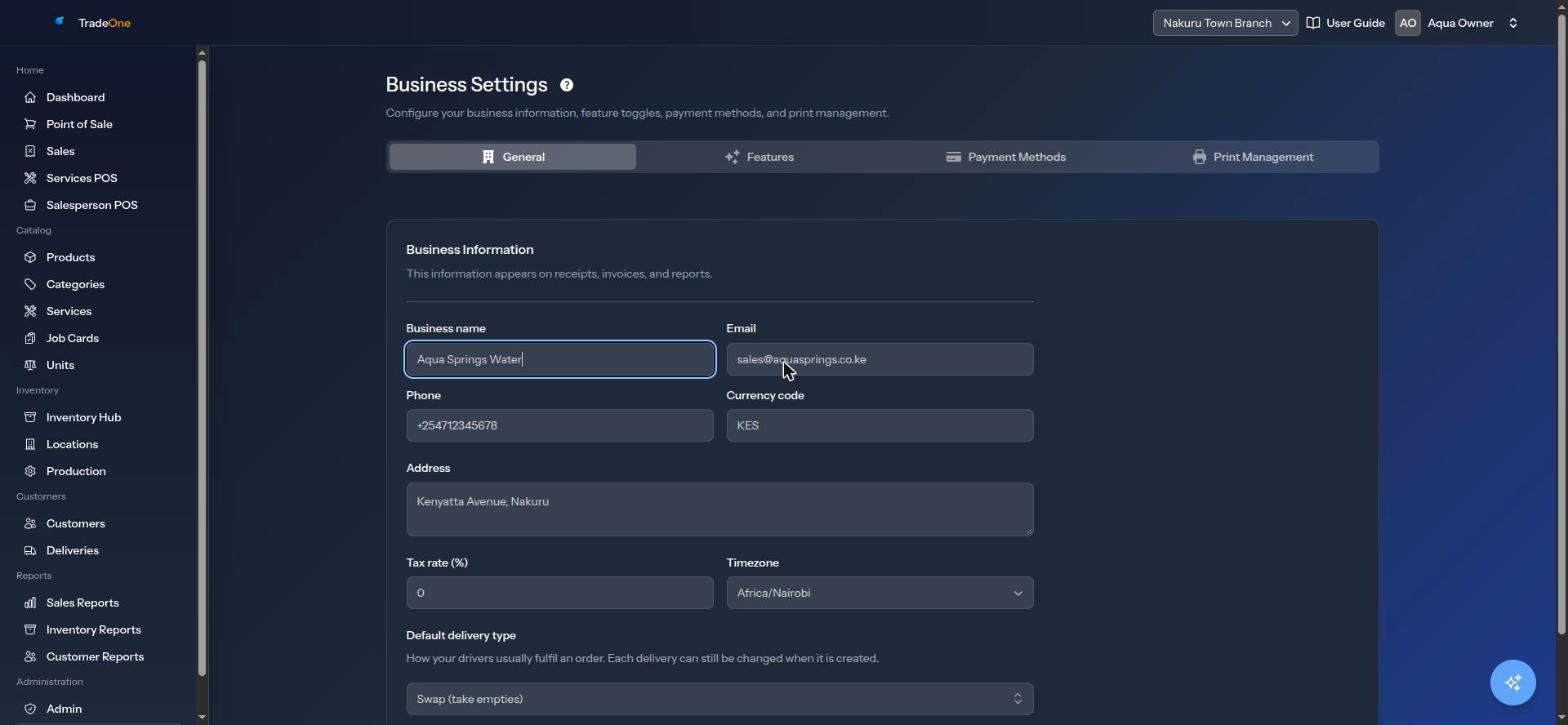
The General tab is headed "Business Information". It says "This information appears on receipts, invoices, and reports."
| Field | Notes |
|---|---|
| Business name | Required. Up to 255 characters |
| Optional | |
| Phone | Optional |
| Currency code | Required. Exactly 3 letters. New businesses start with KES |
| Address | Optional |
| Tax rate (%) | Required. A number from 0 to 100. The till adds this percentage to the sale after any discount |
| Timezone | Required. New businesses start with Africa/Nairobi. Sale times and reports follow it |
| Default delivery type | Shown only when Deliveries is switched on. Choose "Drop off", "Swap (take empties)" or "Collect, refill & return" |
Press Save changes. You will see "Business settings saved."
For example, with a tax rate of 16 and a sale of KSh 1,000 with no discount, the tax is KSh 160 and the total is KSh 1,160.
Features
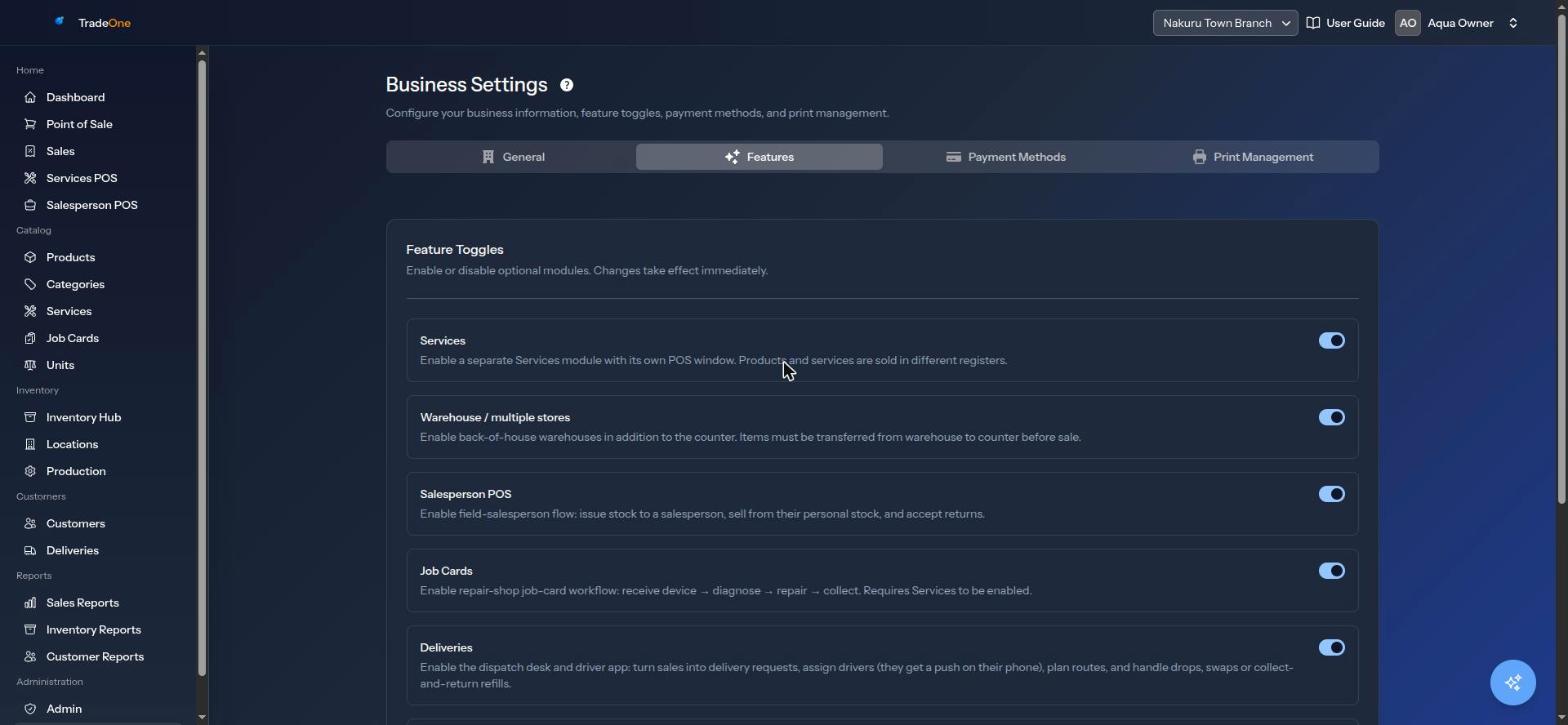
The Features tab is headed "Feature Toggles". It says "Enable or disable optional modules. Changes take effect immediately." Each module has a switch. Flip it and you see a message such as "Services enabled." or "Services disabled."
Note
A switch is for the whole business. Turning a module off hides its pages and tabs for everyone. It does not delete any data.
Services
Label: Services. Adds a separate Services module with its own POS window. Products and services are sold in different registers. It adds Services POS, Services (under Catalog) and the Services tab in Sales History and Sales Reports. Switching it on creates a protected location called "Service Consumables". See Services.
Warehouse and Multiple Stores
Label: Warehouse / multiple stores. Adds back-of-house warehouses in addition to the counter. Items must be transferred from the warehouse to the counter before sale. It lets you add locations and shows the Transfers tab in the Inventory Hub. See Locations and Inventory.
Salesperson POS
Label: Salesperson POS. Adds the field-salesperson flow: issue stock to a salesperson, sell from their personal stock, and accept returns. It adds Salesperson POS to the menu and the Issue to Staff and Return from Staff tabs. See Salesperson POS.
Job Cards
Label: Job Cards. Adds the repair-shop workflow: receive device, diagnose, repair, collect. It requires Services to be switched on. See Job Cards.
Deliveries
Label: Deliveries. Adds the dispatch desk and the driver app: turn sales into delivery requests, assign drivers (they get a push on their phone), plan routes, and handle drops, swaps or collect-and-return refills. See Deliveries.
Price Stock by Batch
Label: Price stock by batch. Each delivery is a batch with its own cost and selling price. The price is the batch's cost times the item's markup, rounded up to a whole shilling. Stock sells oldest batch first, and the next batch's price applies when the older one runs out. Switch it off to leave prices and costs untouched when stock is received.
See Products and Purchases and Suppliers.
Manufacturing
Label: Manufacturing / production. Adds in-house production: define a bill of materials per produced item, issue raw materials to a production floor, and turn them into finished goods. Switching it on creates a protected location called "Production Floor". See Production.
AI Assistant
Label: AI assistant. Shows the AI assistant, a chat button that answers questions about how to use the app and, from live data, about the business. Each user only gets answers about what their own permissions allow. It is on by default. See AI Assistant.
Payment Methods
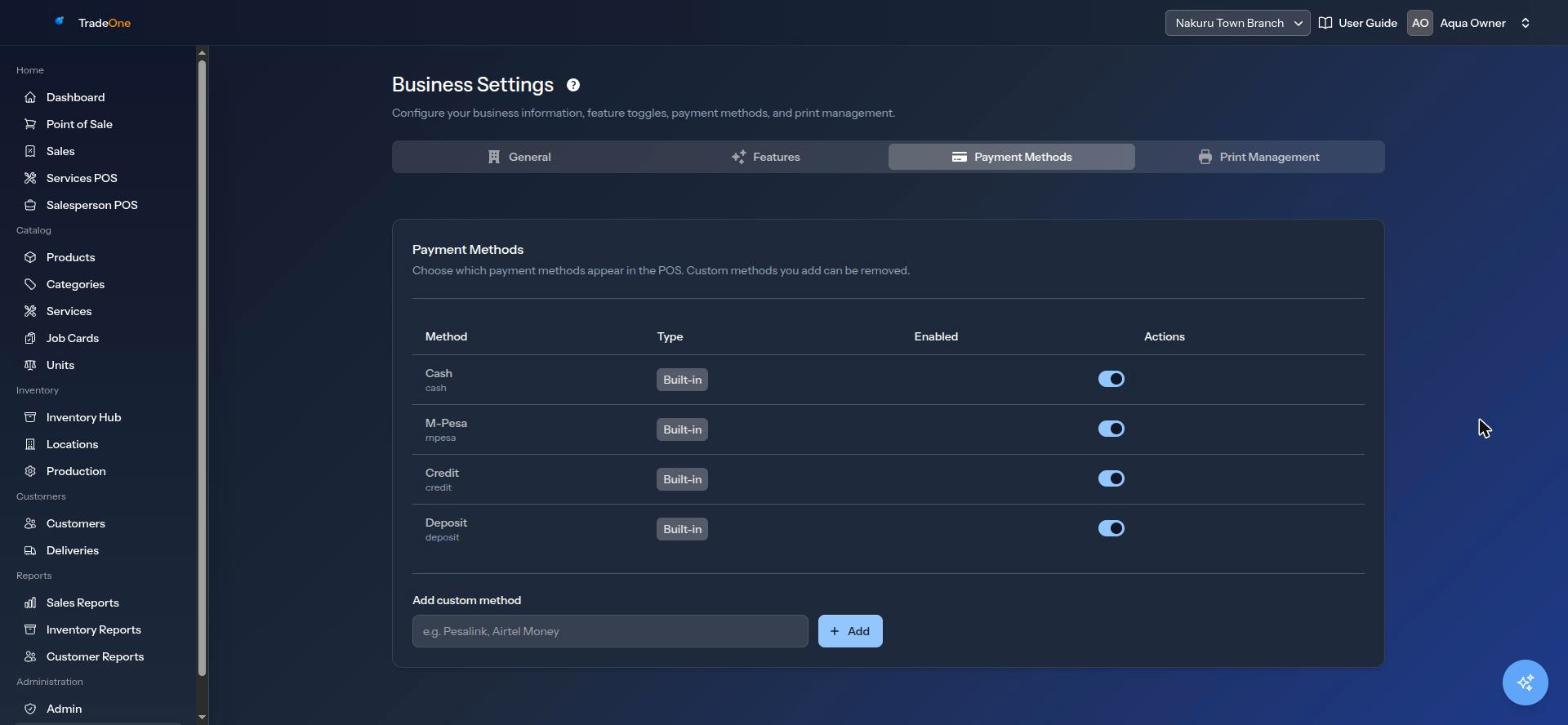
The tab says "Choose which payment methods appear in the POS. Custom methods you add can be removed." The table has the columns Method, Type, Enabled and Actions.
New businesses start with:
| Method | Switched on at the start |
|---|---|
| Cash | Yes |
| Credit | Yes |
| Deposit | Yes |
| M-Pesa | No |
| Bank Transfer | No |
These are marked "Built-in". Use the switch in the Enabled column to show or hide a method at the till.
To add your own, type a name in Add custom method (for example Pesalink or Airtel Money) and press Add. You see "Airtel Money added." A custom method is marked "Custom" and has a Remove button. You will be asked "Remove this payment method?".
Rules:
- The name is required and can be up to 50 characters.
- If the name already exists you see "A method with that name already exists."
Note
"Credit" and "Deposit" need a customer on the sale. See Point of Sale. The Salesperson POS accepts only cash and credit, and the mobile app offers its own short list. See Salesperson POS and The Mobile App.
Print Management
This tab pairs the receipt printers that the web app uses. It is explained step by step in Printing Receipts. In short:
- Press Generate token and copy the token.
- Paste it into the Print Agent on the computer that has the printer.
- The computer shows under Agents & printers as "Online".
- Set the agent's location, choose a default printer and press the test print button.